Create Two EKS Clusters
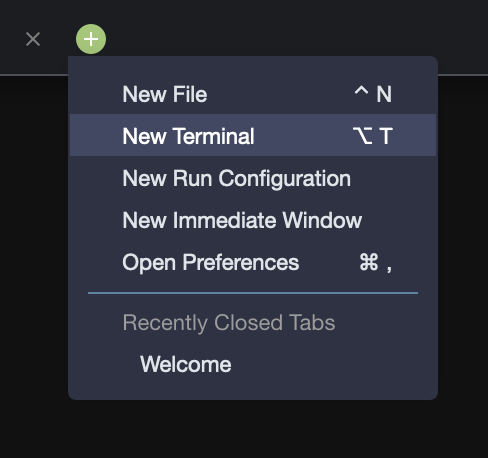
In order to make this exercise easier, you should use two terminal windows. In Cloud9, you can open a second terminal window by clicking the “+” icon on the tab bar.
In each terminal, we are going to use the eksctl command to create a cluster, and give them specific names. I suggest simple names, like “east” and “west” or something similar. Optionally, you can add the -r region_id option to the command line in order to place the cluster in a specific AWS region.
Not all AWS regions have all EKS capabilities enabled
In the first terminal window, execute:
eksctl create cluster -n ha-dr-east --alb-ingress-accessand in the second terminal window, execute:
eksctl create cluster -n ha-dr-west --alb-ingress-accessBy running these eksctl create cluster commands, we will:
- Create two m5.large worker nodes; we have found that this instance type suits most use-cases and is good value for the cost
- Use the official AWS EKS AMI
- Create the cluster in the us-west-2 region
- Create a dedicated VPC
- Use a static AMI resolver
- Enable full access for alb-ingress-controller
As we covered in the webinar and as most of you know, EKS solves some major pain points with managing Kubernetes. The onus of managing Kubernetes upgrades and patching is taken up by AWS, with zero downtime upgrades. Another benefit that EKS gives you is High Availability in a regional cluster. EKS runs the Kubernetes management infrastructure across multiple Availability Zones, and detects and replaces unhealthy control plane nodes.
The clusters typically take around 10-15 minutes to create, so we’ll move on to setting up our git repositories and have a checkin once we have set them up.
When they have completed, you will have two node EKS clusters to work with.
If you are using your own AWS account, you will need permissions to create EKS clusters plus admin rights within your EKS cluster to configure configuration rules and install agents. Ensure you have authority within your organization to do this in your tenant.